How to Create a ClickUp Form
Feedback and surveys help shape your marketing strategy according to your customers’ responses. ClickUp Forms are one of the many useful features that ClickUp offers to gather information on your customers.
This tutorial is designed to guide you on how to create a form through ClickUp. We will walk you through the process of creating and sharing form URLs and how to access the data filled by the forms. Let’s get started.
What is ClickUp?
ClickUp is a versatile productivity tool that offers everything from planning, managing customers, tracking, and managing projects and marketing campaigns as well as creating efficient workflows. The app offers a clean interface, cross-platform availability, and integration with many popular apps.
Moreover, it features marketing sprint templates, time-tracking capabilities, real-time reporting, team collaboration and communication, and high customization. All in all, you can have your teams, tasks, and tools together on one productivity platform.
Building a Form with ClickUp, For Free
Step 1 – Sign up for an account
Sign up for an account (it’s free), then log in to your ClickUp account.

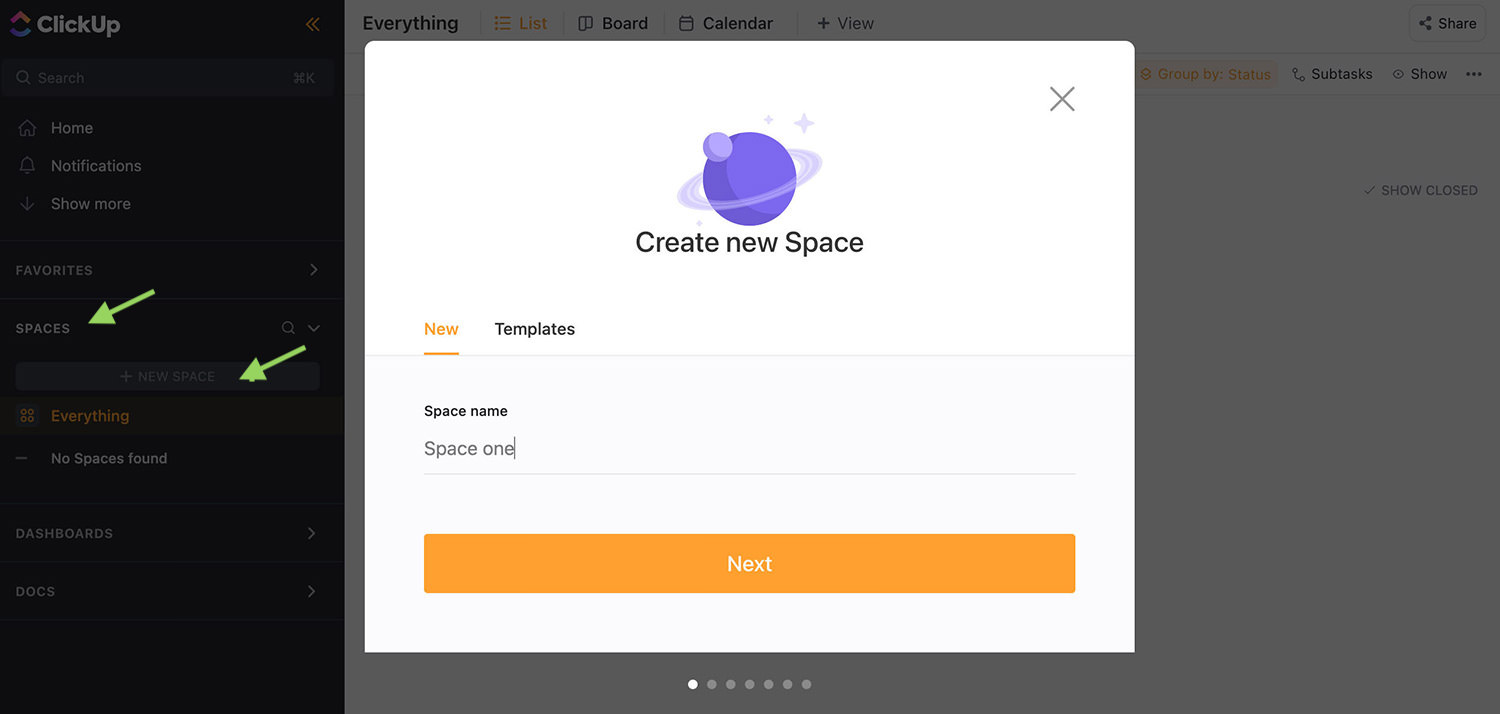
Step 2 – Create a Space
Start with creating a space if you haven’t already. To create a space, go to the sidebar, expand SPACES, then click “+ NEW SPACE“. Give your new space a name, then follow the on-screen instructions to create your space.
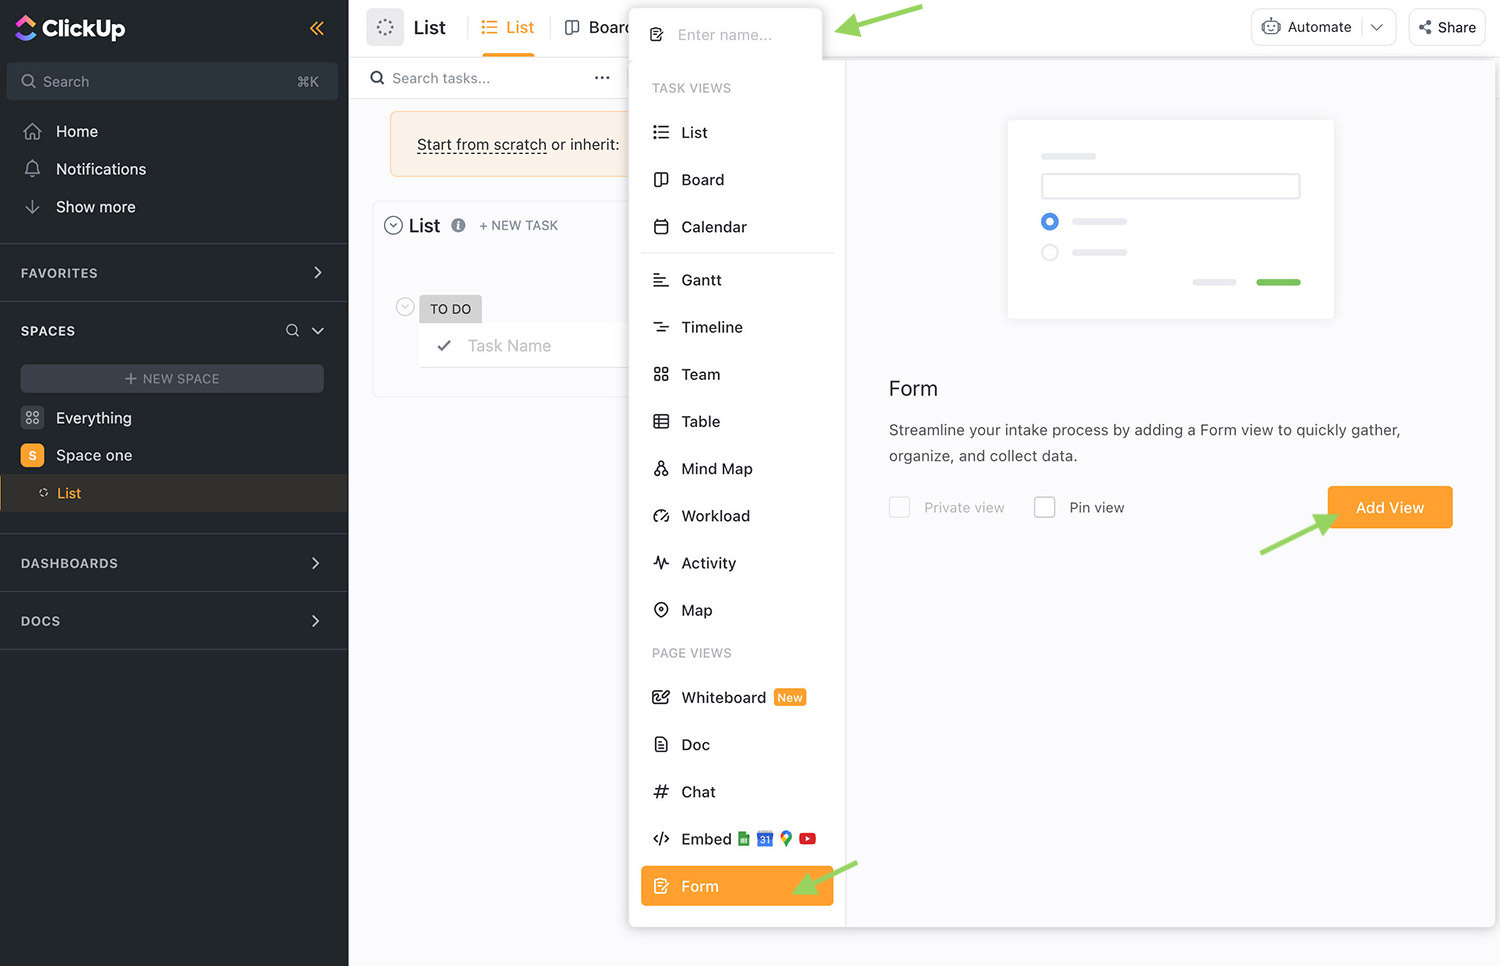
Step 3 – Create a Form
Click on the Space (on the sidebar) you just created, then go to “+ View” on the top navigation, select “Form“, then click “Add View“.
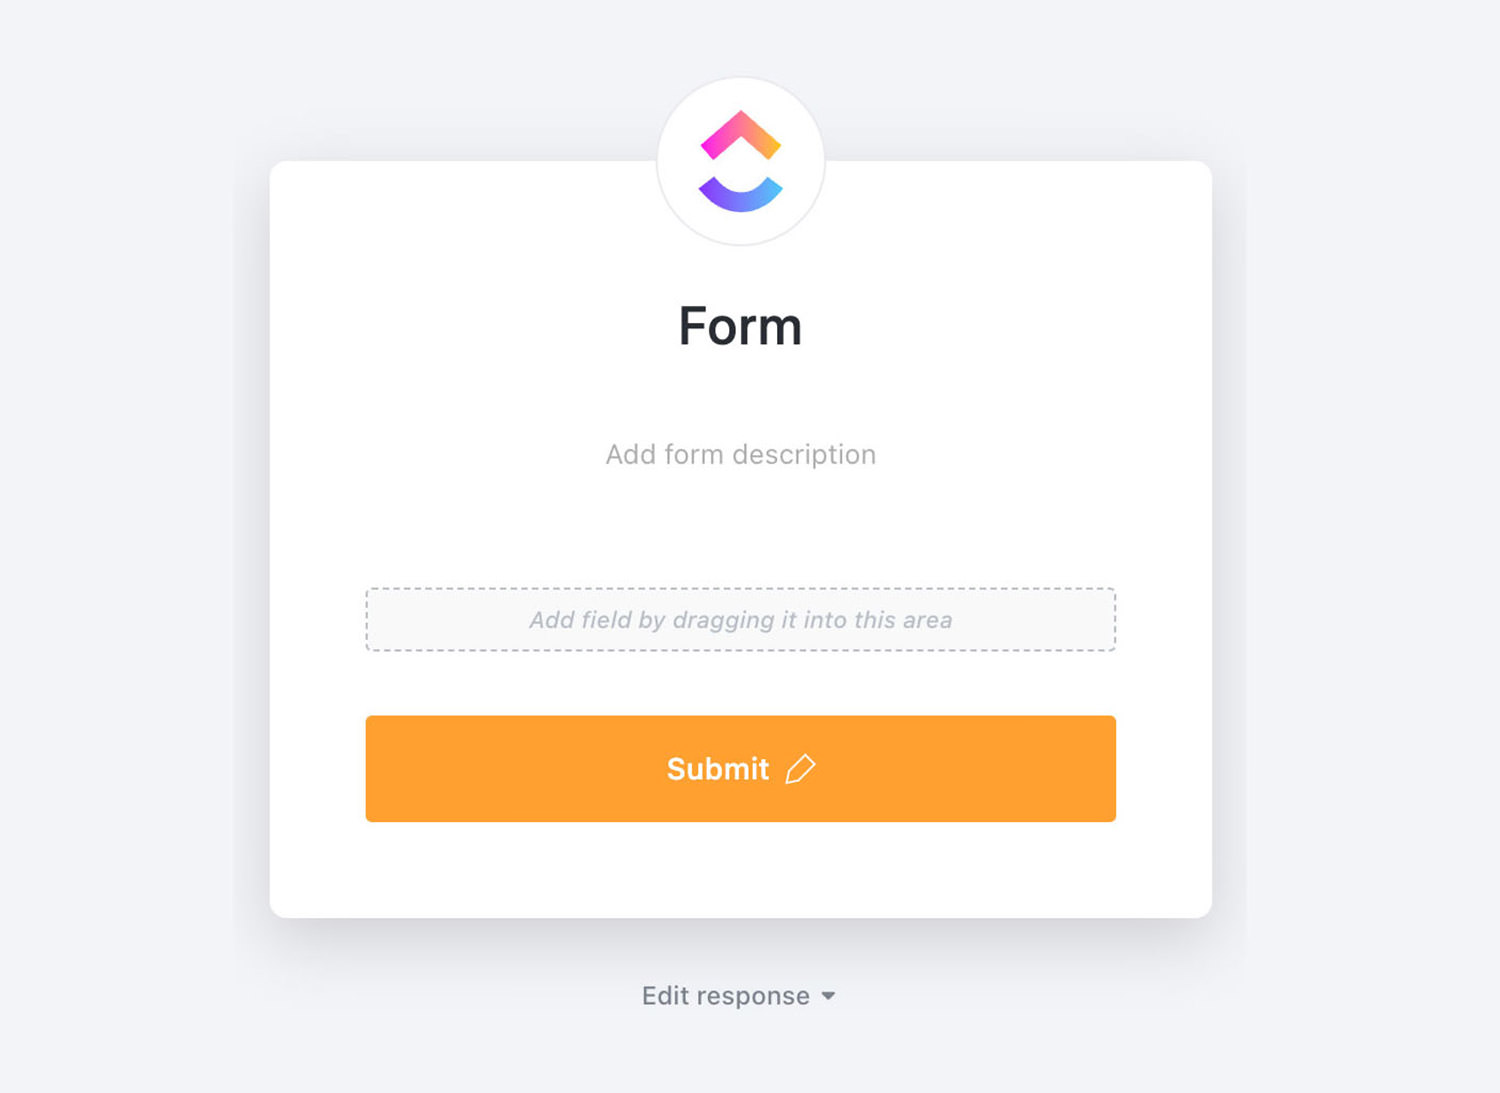
Step 4 – Customize your Form
Your new form comes with no fields, a default form description, and submit button. What you want your form to look like is entirely up to you.
To customize your form, you can start by dragging the Tasks Field on the left into the form, or you can create your own fields by clicking on the “+ Add Custom Field“.
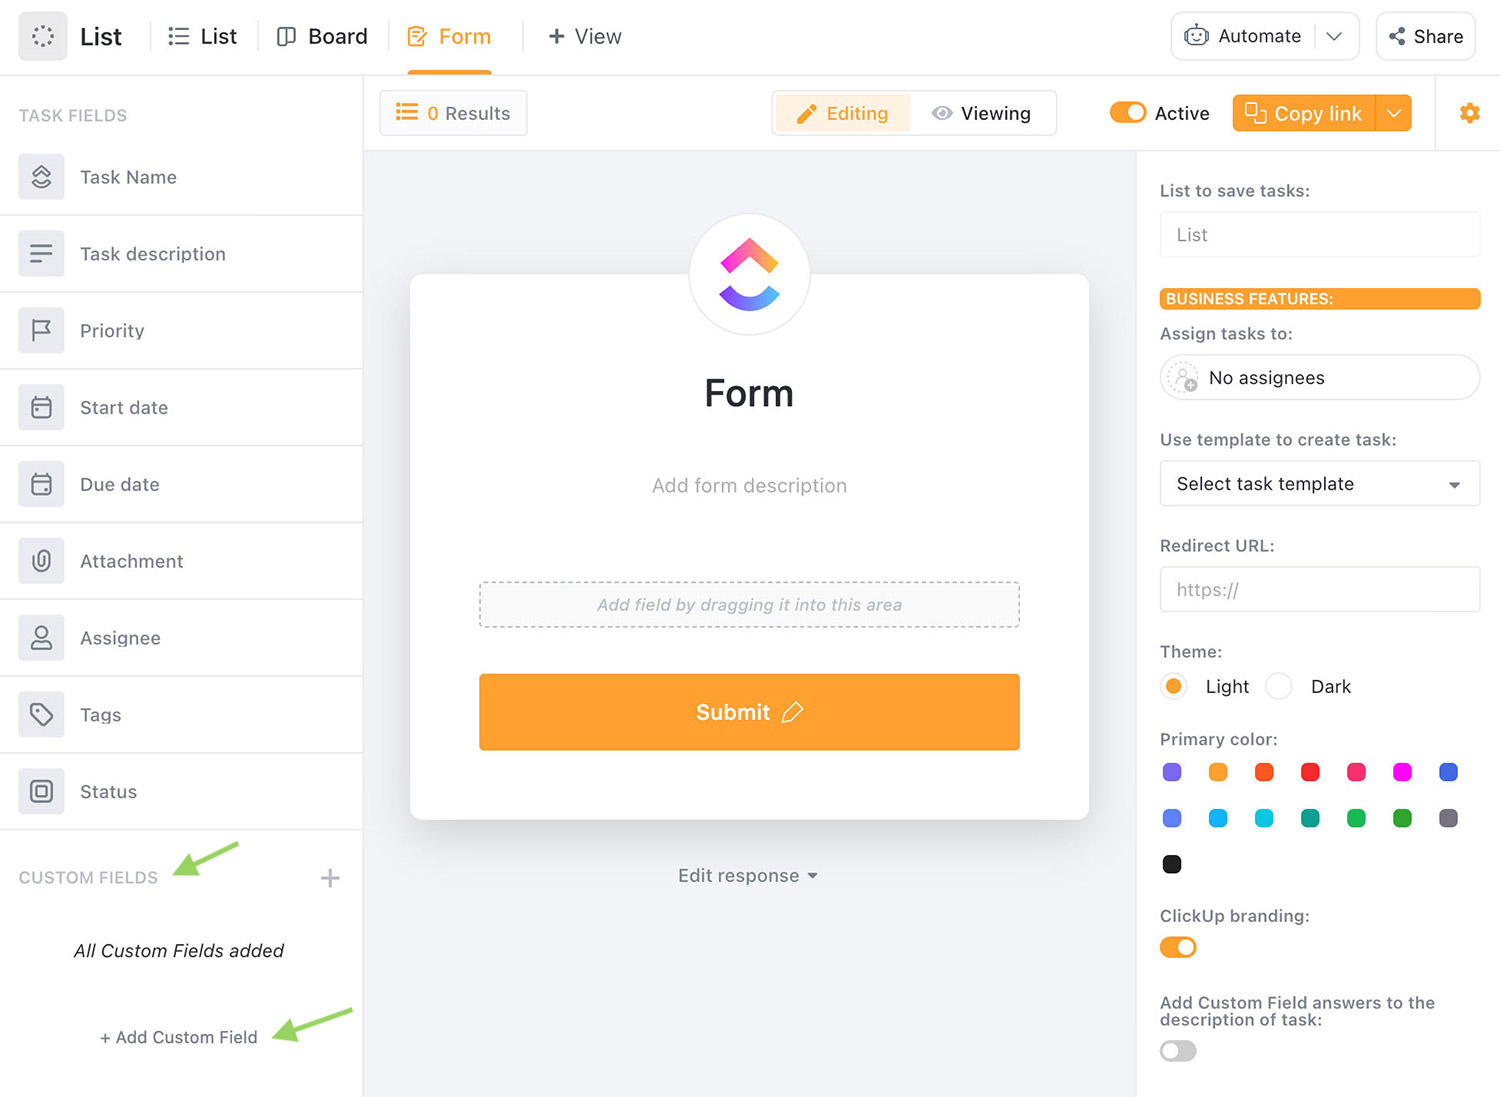
For simplicity’s sake, we will a form that consists of the Name and Website fields for this tutorial
Instructions:
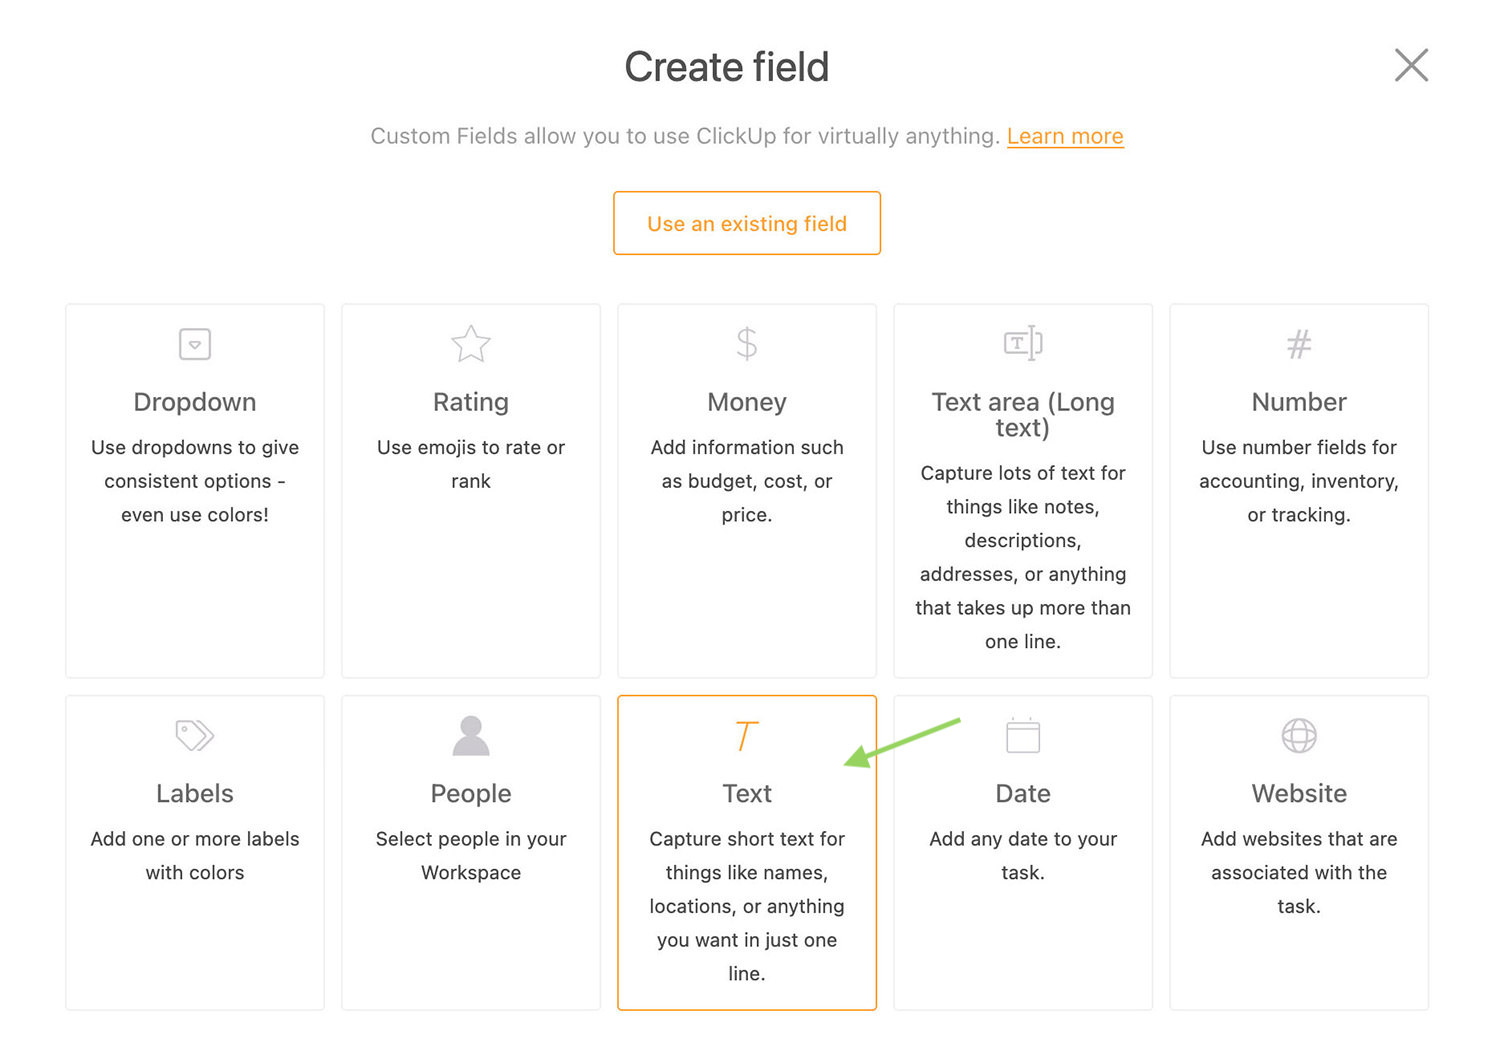
- Click “+ Add Custom Field“
- Select Text.
- Enter “Name” in “Field Name“, and click Create.
- Drag the “Name” field to the form.
- Click “+ Add Custom Field” again. This time, select “Website” and repeat the process to drag it into the form.

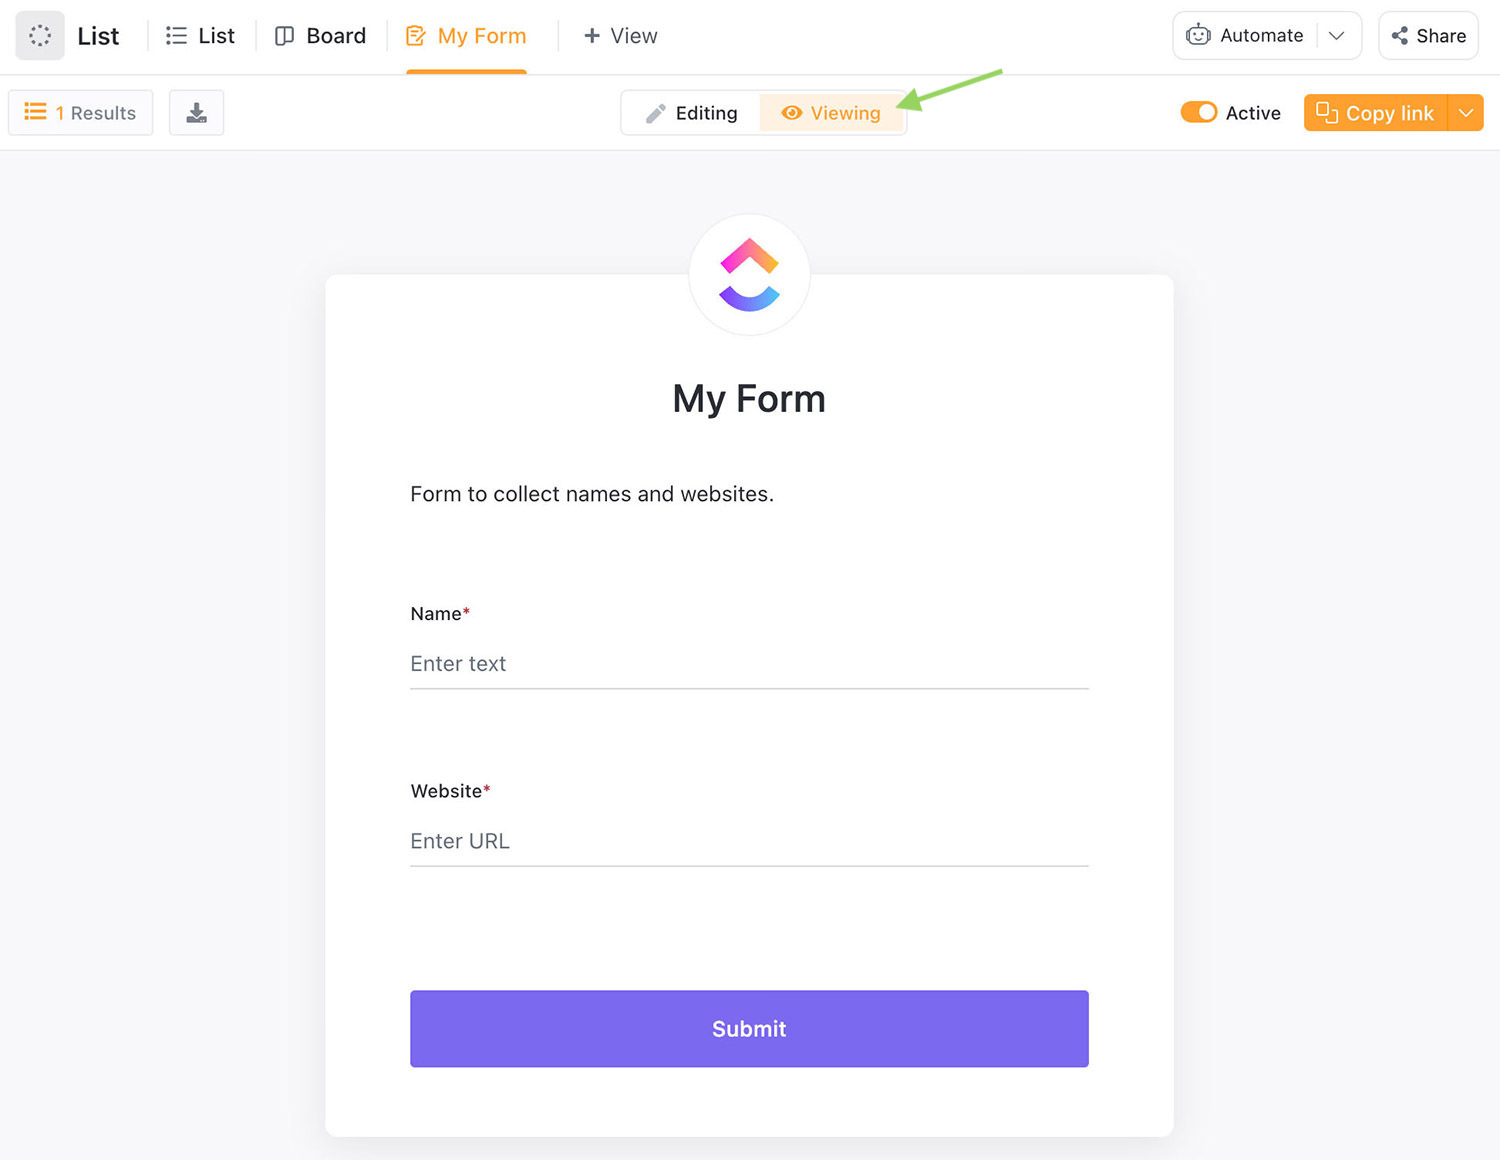
That’s it. A simple form to collect names and websites is now created.
Step 5 – View your form
To view your newly created form, go to “Viewing” on the top (besides “Editing), or under “My Form” on the top navigation.
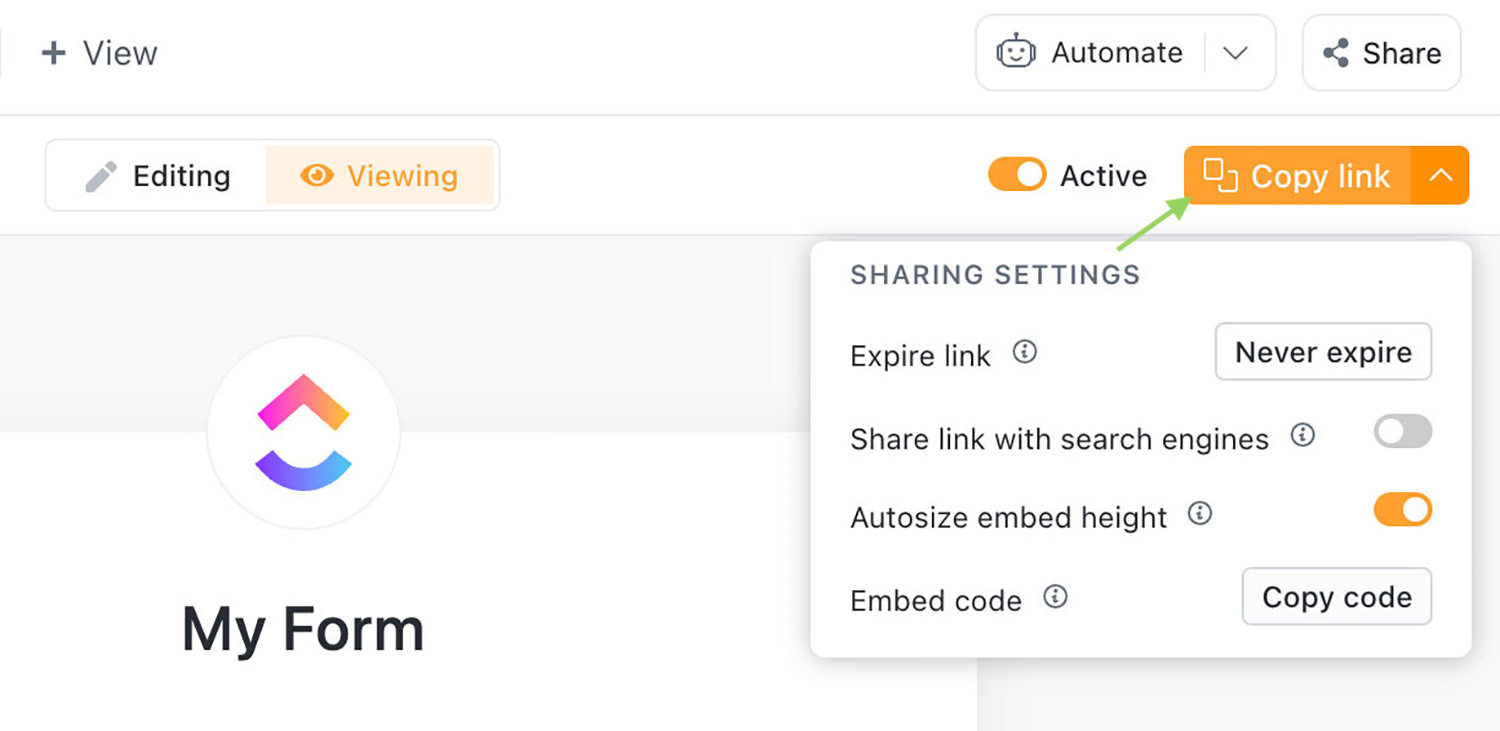
Step 6 – Share your form
To share this form using its URL, click on the “Copy link” button on the top right corner or click on the arrow beside it to further customize your form.
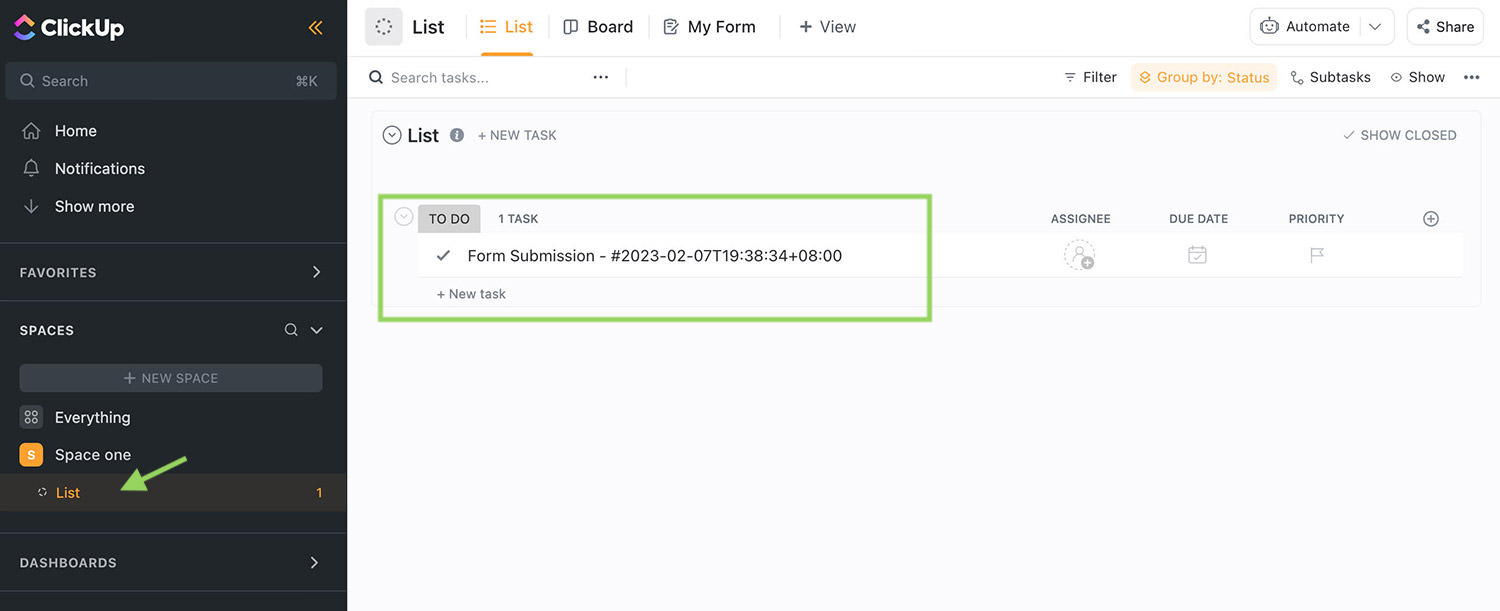
Step 7 – View collected form data
To view data collected by the form, click on your Space’s name, then select “List“.